Please contact us if anything is not clearly described, does not work, seems incorrect or if you require support.
Installing OpenBSD on a Hetzner cloud server is very easy and only takes about five minutes. Here is everything you need to know in easy to follow steps.
Table of contents
Downloading and Flashing the OpenBSD Installer Inside the Hetzner Rescue System
Installing OpenBSD using the Hetzner Cloud Server KVM Console
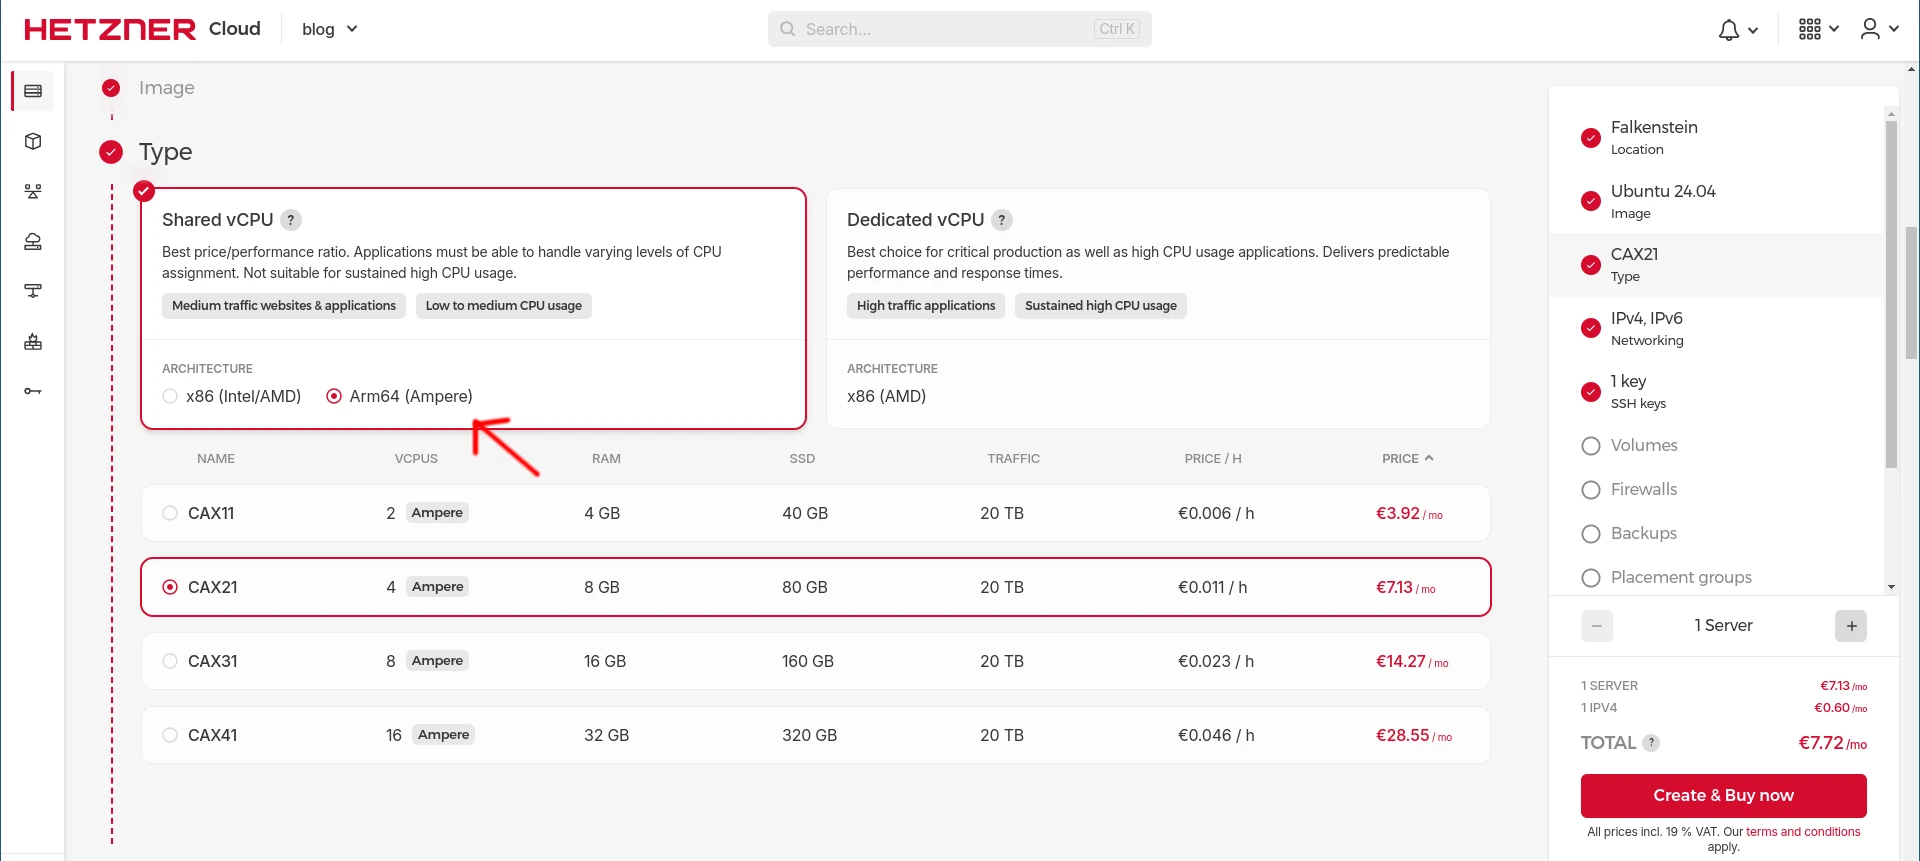
Choosing the Correct Hetzner Cloud Server
Create a hetzner cloud server and make sure you choose the ARM variant:
After creating it, boot it into the rescue system:
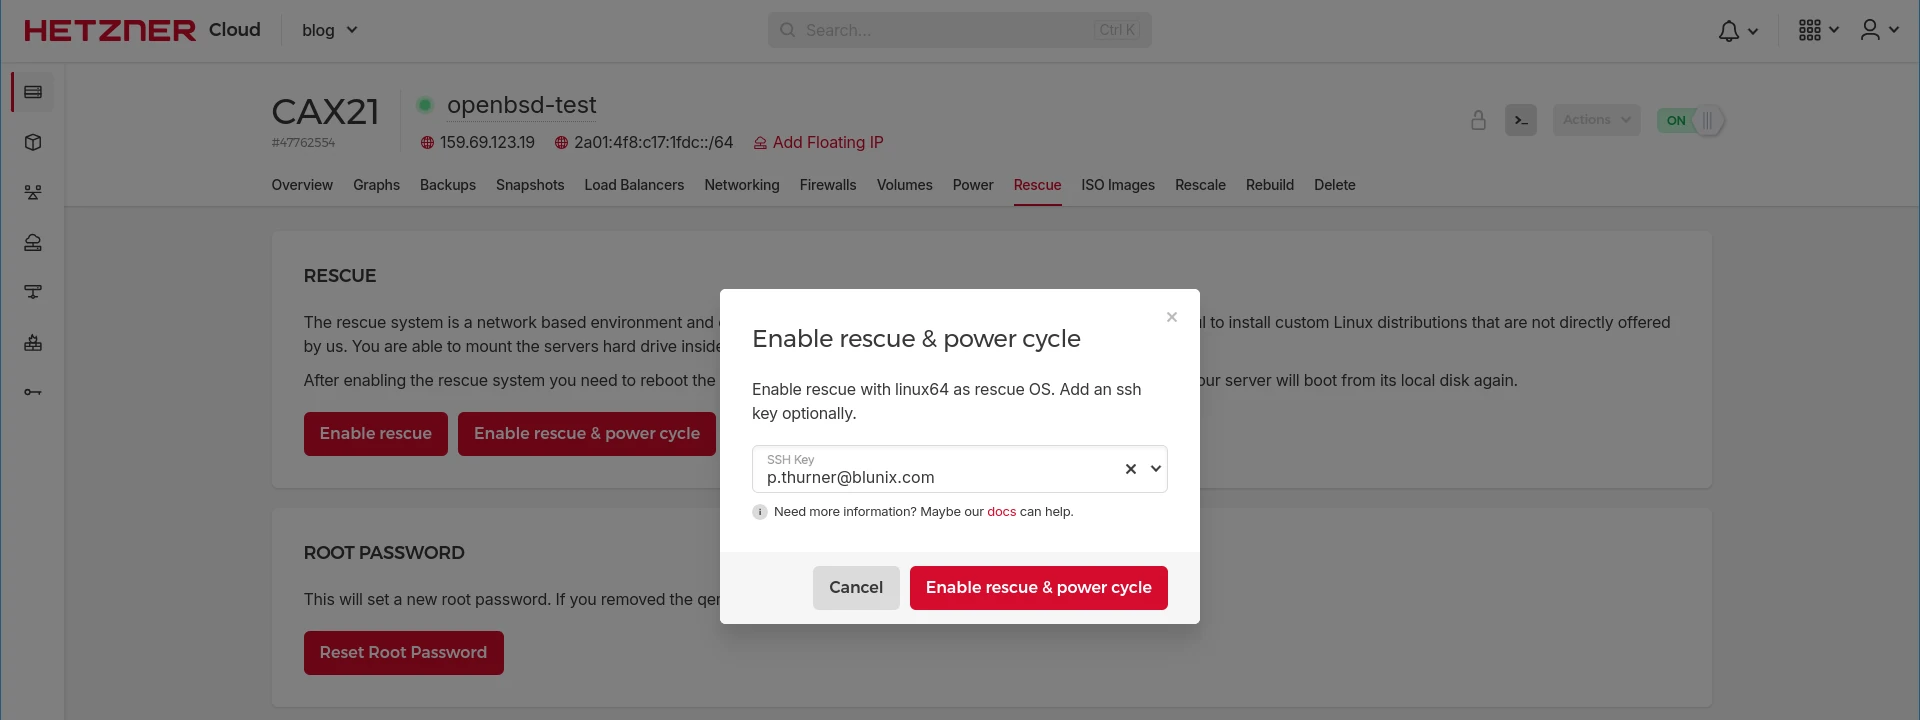
ARM based servers seem to boot significantly slower than regular ones - about one to two minutes until you can login with SSH. Just give it a minute ;-)
Downloading and Flashing the OpenBSD Installer Inside the Hetzner Rescue System
Go to The OpenBSD 7.5 download page for ARM64 images and download the miniroot image. The miniroot image is simply a dd-able image that you write directly to /dev/sda
. It will start the installer after you reboot. Download the SHA256.sig as well:
wget https://cdn.openbsd.org/pub/OpenBSD/7.5/arm64/miniroot75.img
wget https://cdn.openbsd.org/pub/OpenBSD/7.5/arm64/SHA256.sig
Verify the sha256sum of the image:
sha256sum miniroot75.img
05df229dc026785b5b3d1ec8b0dcd46780a2a5bdf99b7e739d83abf4ff7b3ff5  miniroot75.img

grep 05df229dc026785b5b3d1ec8b0dcd46780a2a5bdf99b7e739d83abf4ff7b3ff5 SHA256.sig
SHA256 (miniroot75.img) = 05df229dc026785b5b3d1ec8b0dcd46780a2a5bdf99b7e739d83abf4ff7b3ff5
Simply write the miniroot image to disk using dd
.
dd if=miniroot75.img of=/dev/sda bs=4M
After this, reboot to start the installation:
reboot
Installing OpenBSD using the Hetzner Cloud Server KVM Console
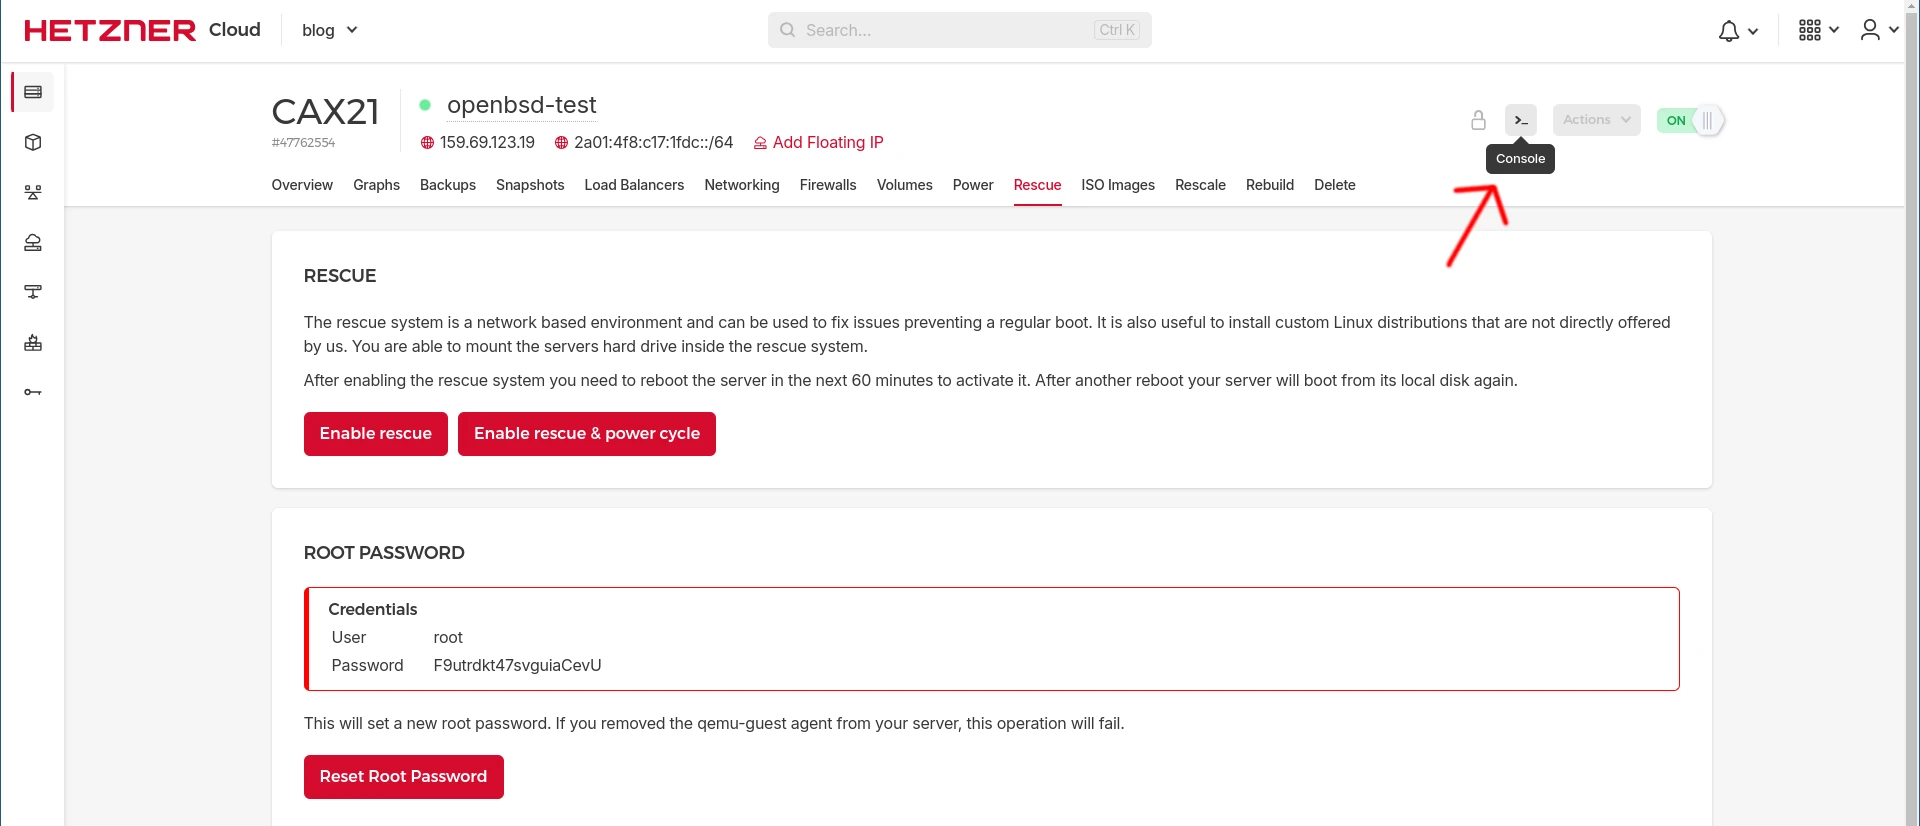
Now open the Hetzner KVM Console for your VM to configure and run the installation:
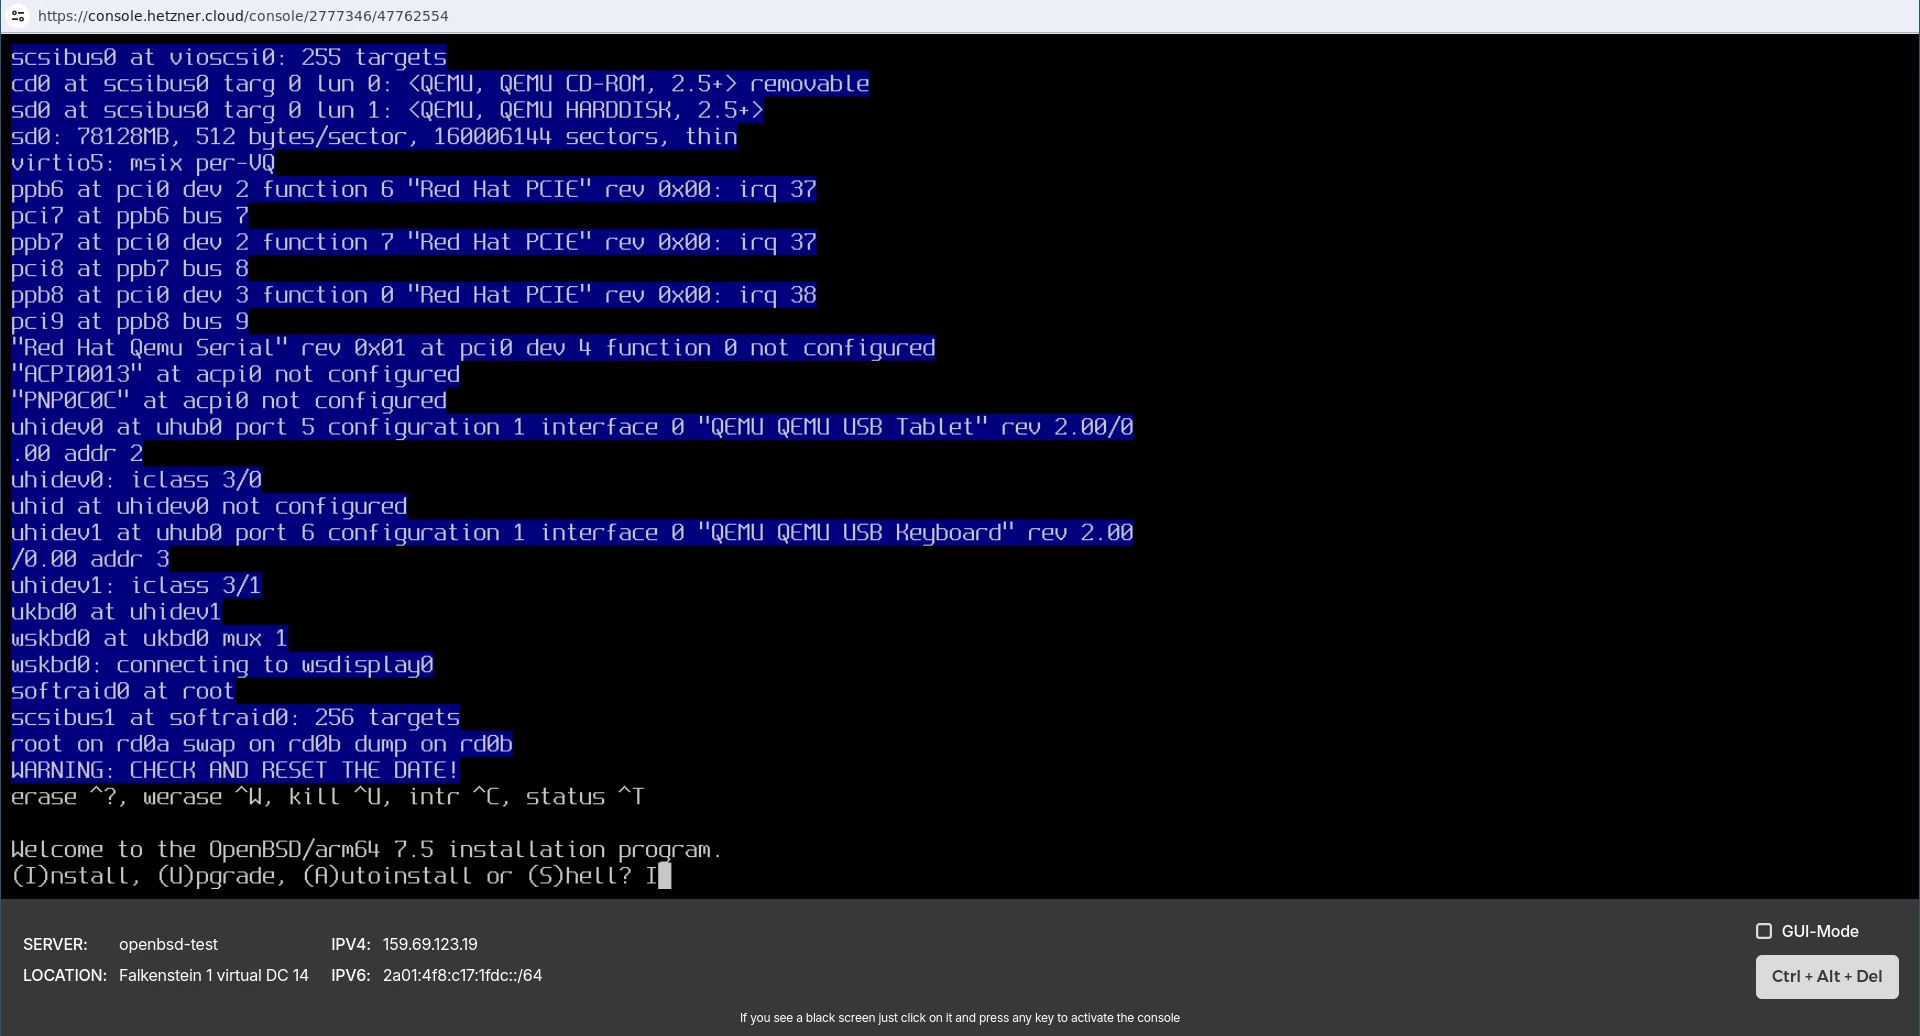
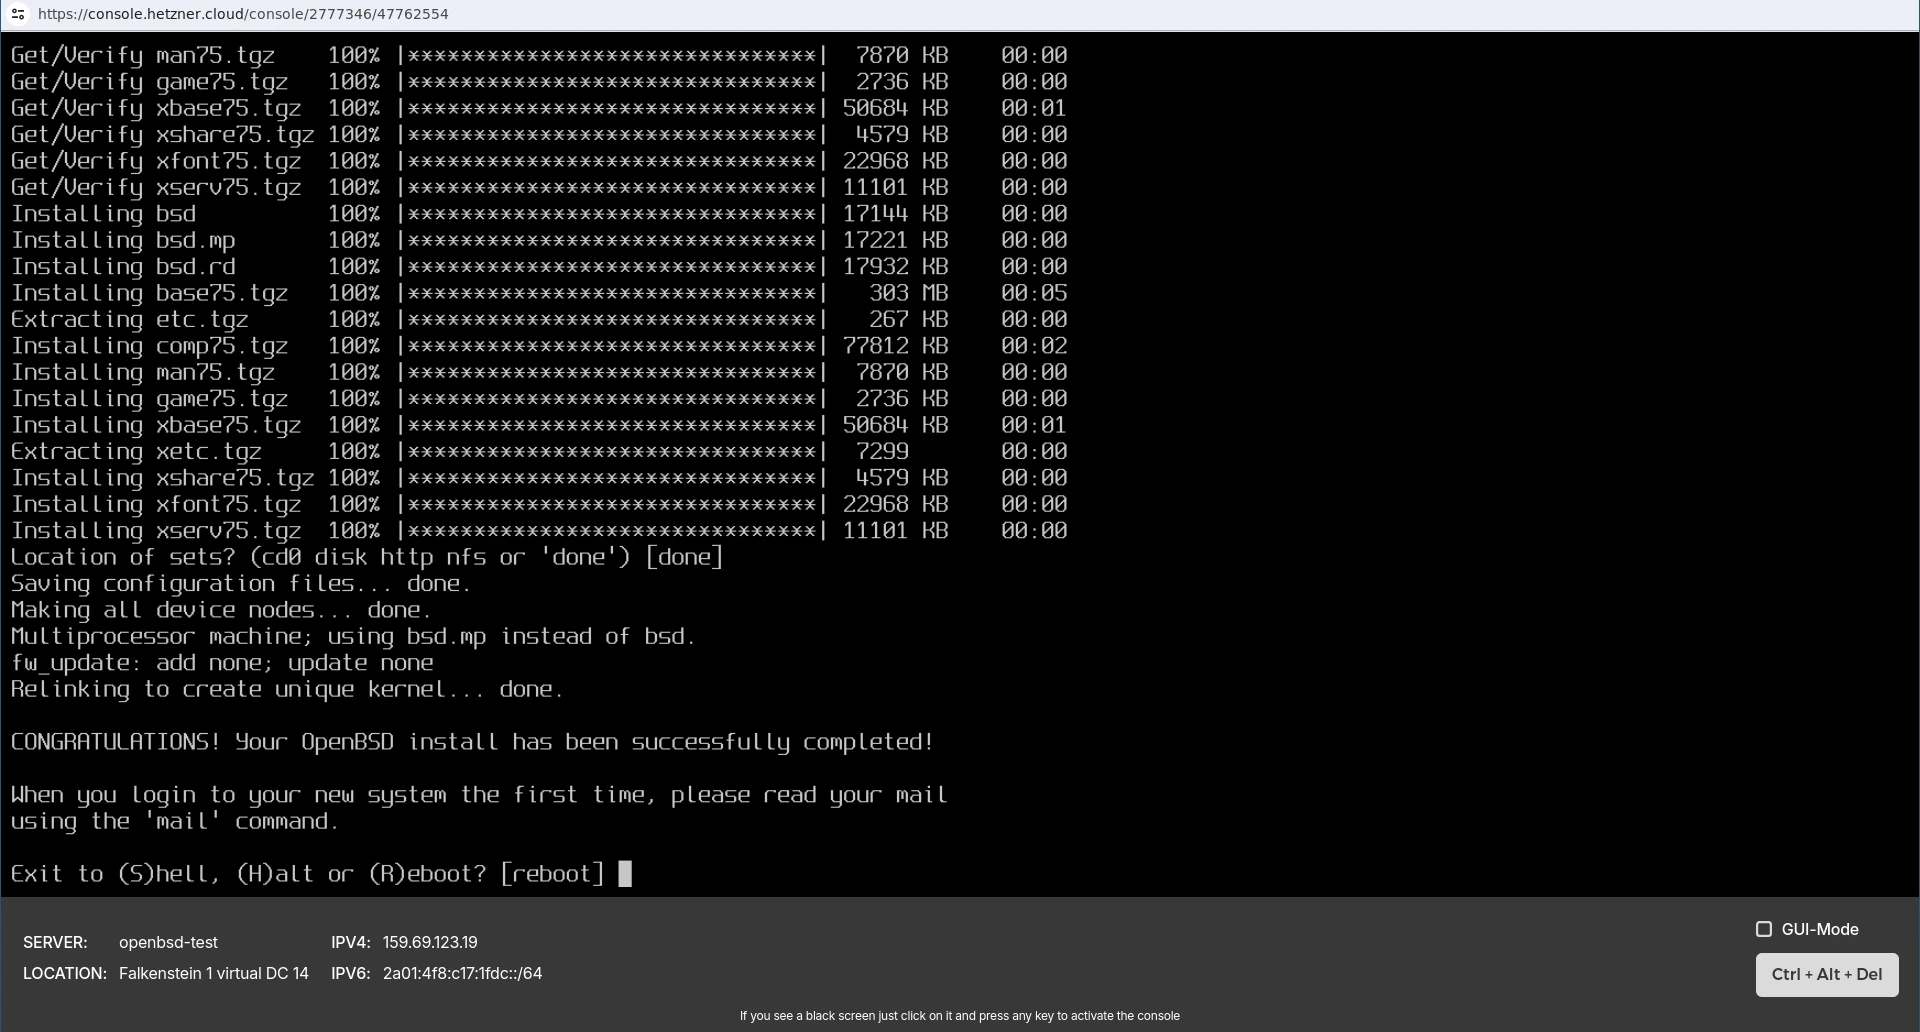
Here is a Screenshot of the OpenBSD installer viewed by the KVM console:
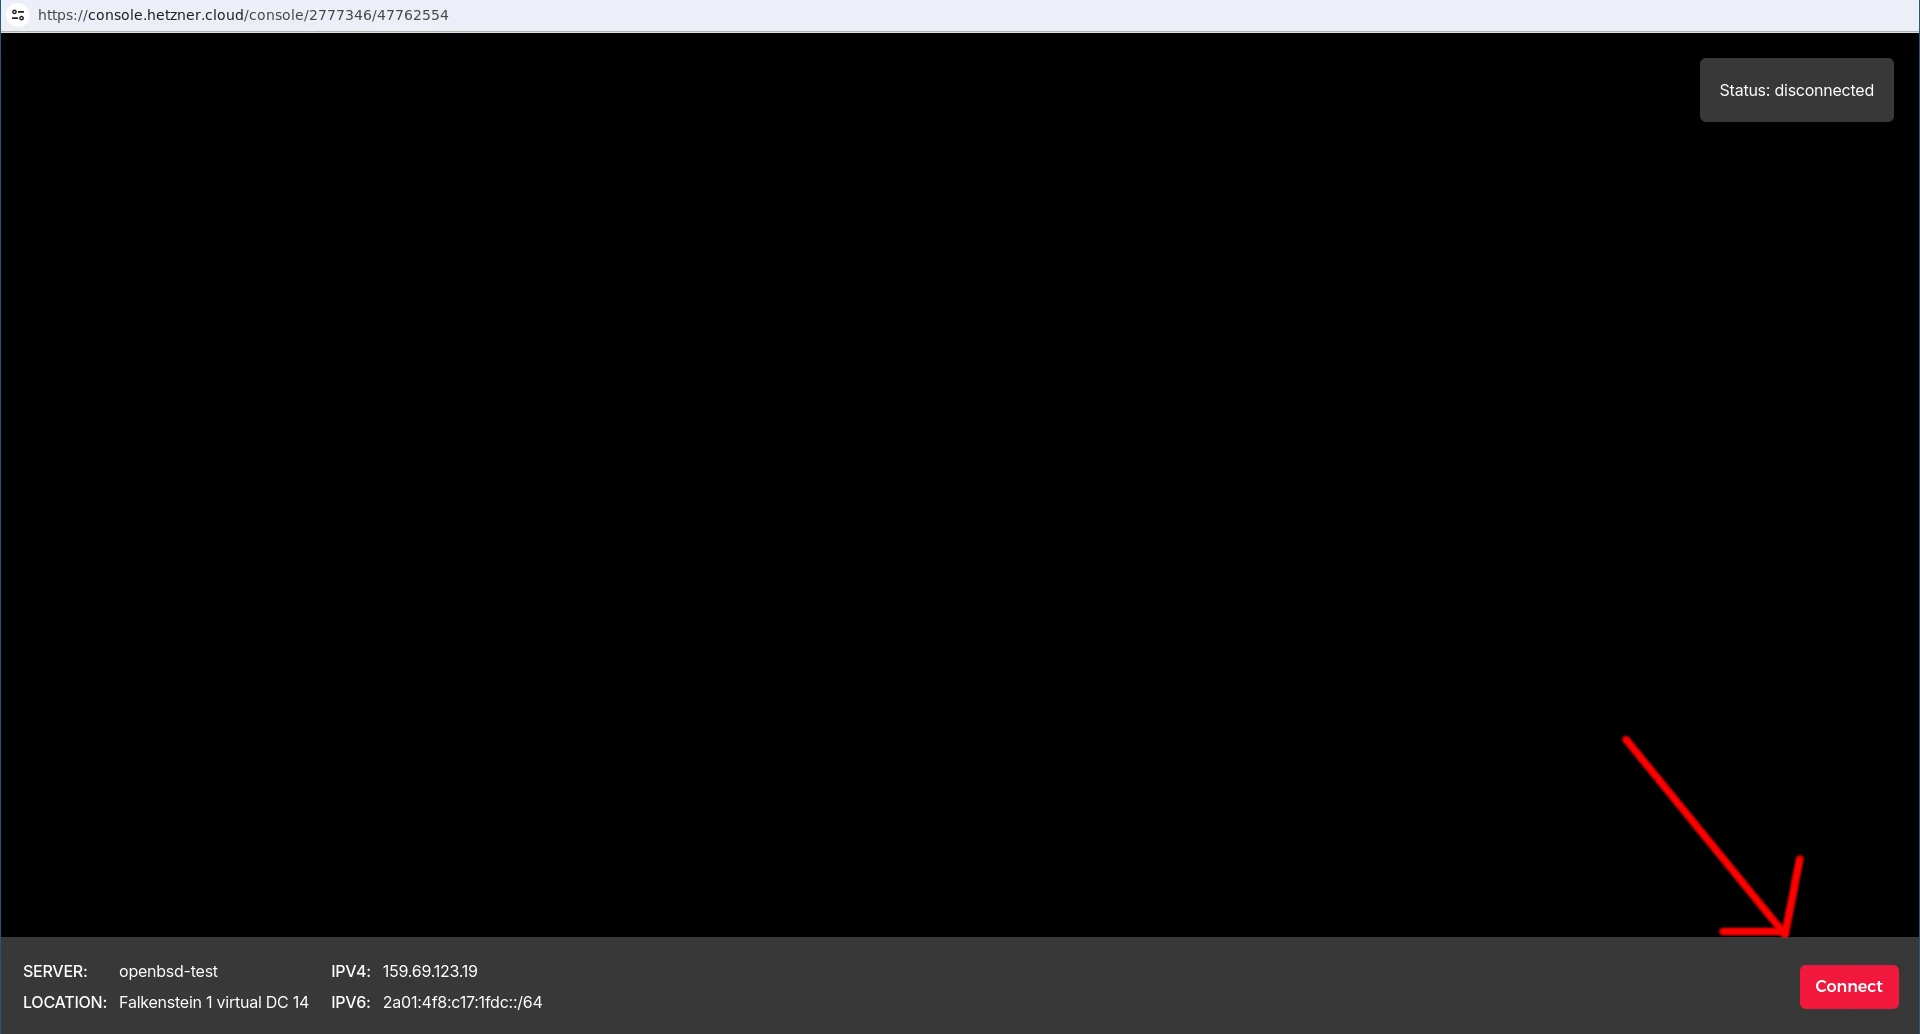
For whatever reason, sometimes the KVM console screen would go blank. In this case simply click the red “Connect” button at the bottom right screen.
The installation itself is pretty straight forward and if you’re a bit into Linux (or BSD) you should understand everything. Most of the defaults can be accepted.
Here are all configuration options where we did not choose the defaults.
- System hostname: openbsd-test.blunix.com
- Allow root SSH login: yes
- Location of sets: http
As said, pretty much all of it is ENTER ENTER ENTER.
When the installation is finished, simply press ENTER ;-) to reboot.
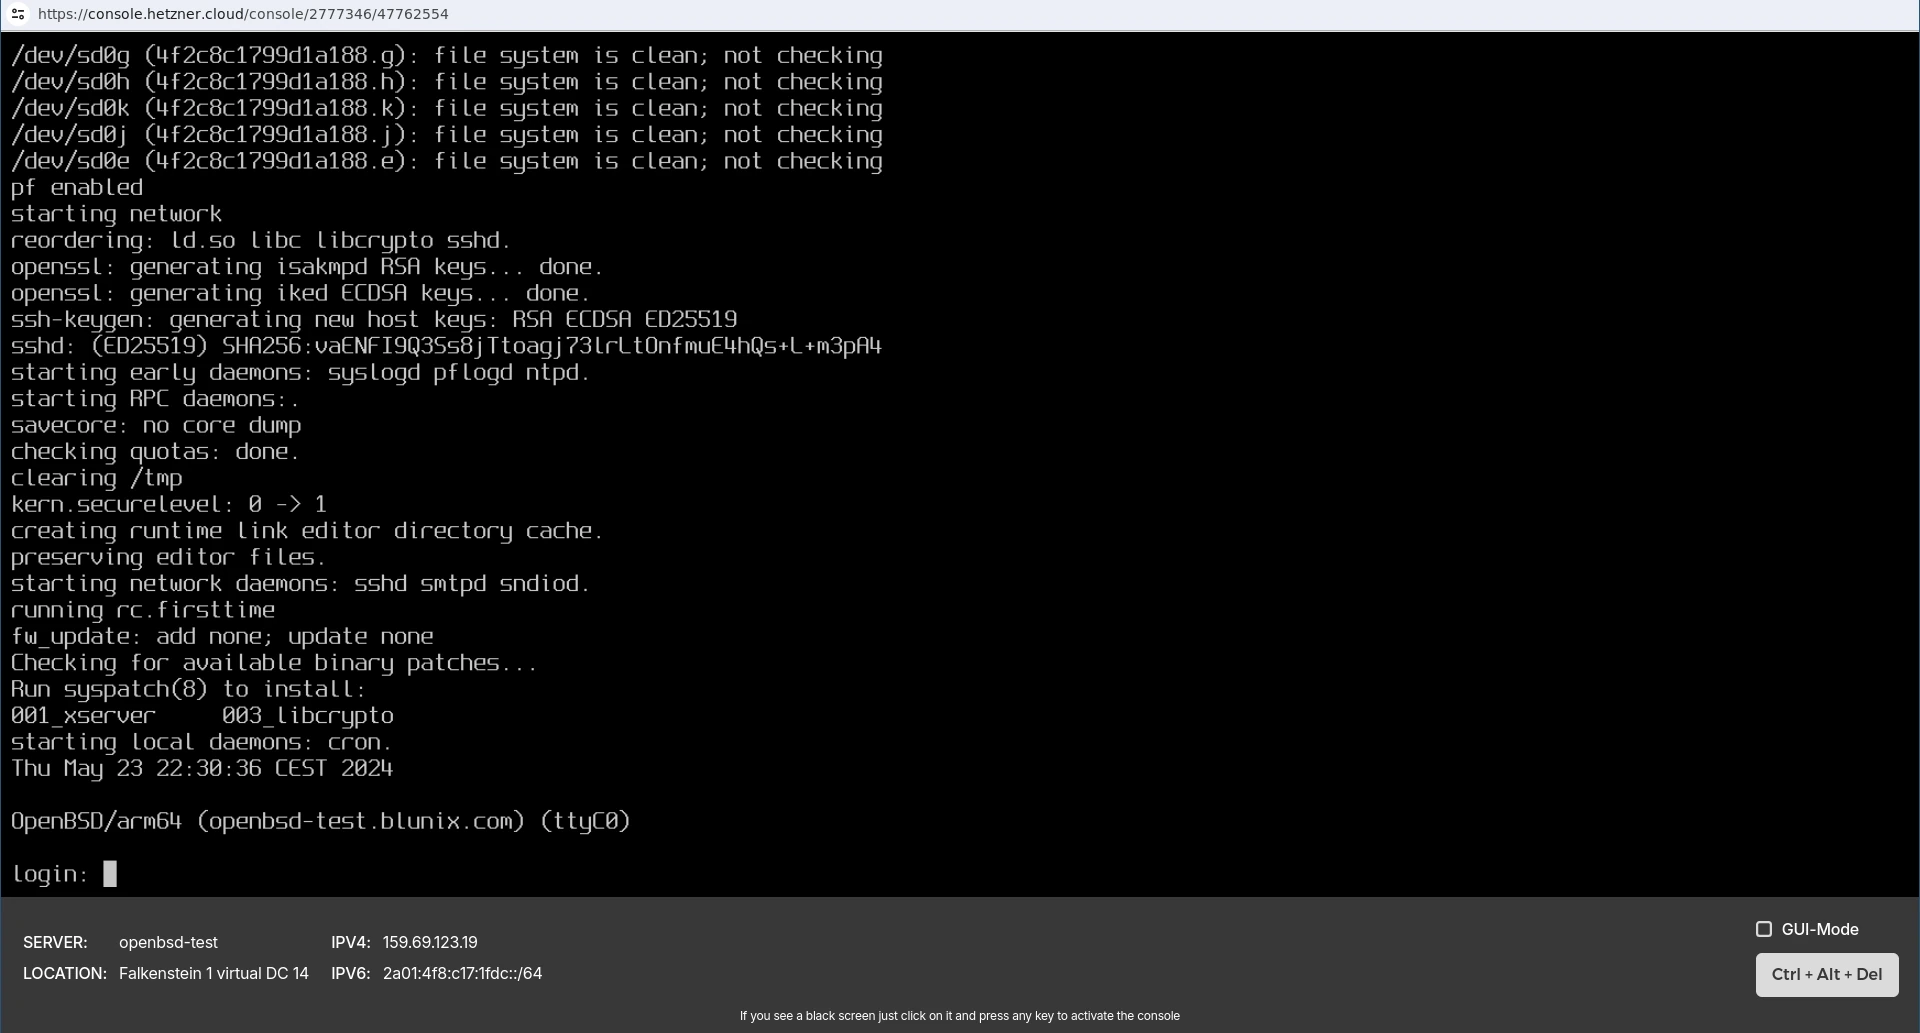
OpenBSD boots rather quickly itself, compared to the rescue systems initial boot. After the reboot, you should be able to login using SSH. You can also see that the system booted in the Hetzner Cloud server KVM console:
Most Basic Security Steps for the New OpenBSD Installation
After the server is reachable via SSH we recommend you to follow at least these steps for a reasonably secure setup.
Setup Your SSH Public Key
Setup your ssh public keys on the server to be able to login without a password:
ssh-copy-id root@<your-servers-ip>
Disable Password Based SSH Authentication
Disable password authentication and enforce SSH keypair authentication in the SSH configuration file:
sed -i 's/.*PasswordAuthentication.*/PasswordAuthentication no/g' /etc/ssh/sshd_config
Then restart sshd for the changes to take effect:
rcctl restart sshd
sshd(ok)
sshd(ok)
Disabling the Root User Password
Now that we can login without a password, we can remove the password we set during the installation. This will not set an empty password for root, but simply no password - as in no password would work, as well as an empty password would not work. You can then only login as root via SSH.
sed -i 's/^root:[^:]*:/root::/' /etc/master.passwd